
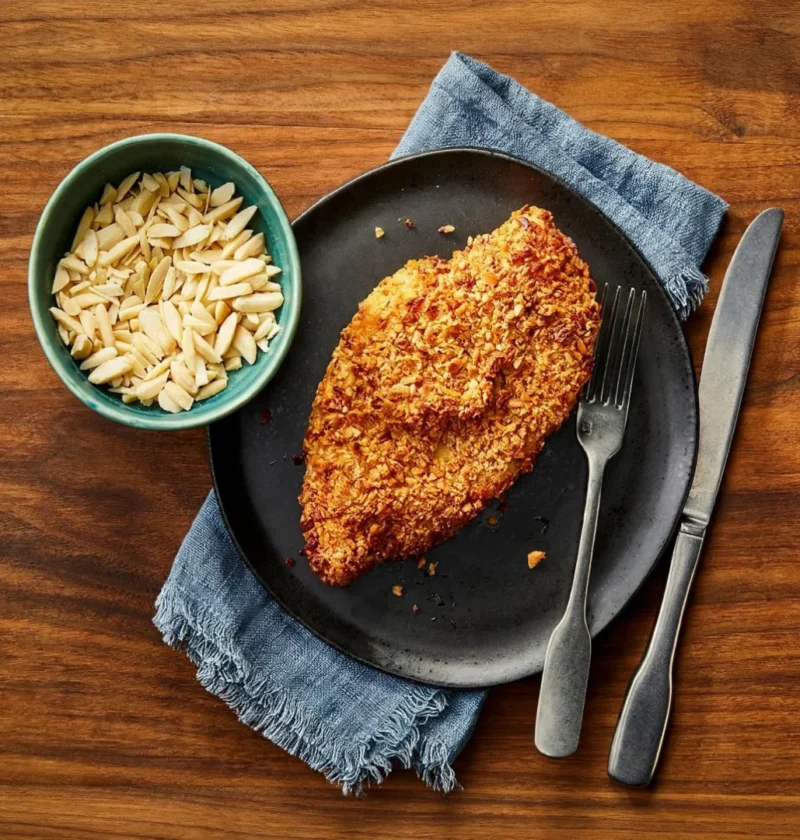
If you’ve ever stared into your pantry, wondering how to add crunch and flavor to your favorite dishes, the answer might just lie in a bag of crushed nuts. Swapping out traditional breadcrumbs for crushed nuts as a breadcrumb substitute has transformed the way I cook, adding a rich depth of flavor and a satisfying crunch to everything from chicken to vegetables. Not only does this technique elevate everyday meals, but it also opens up a world of gluten-free and low-carb possibilities.
This culinary shift began when I was experimenting with healthier cooking alternatives. As someone who loves both texture and nutrition, I found that crushed nuts bring both to the table. Not only are they packed with protein and healthy fats, but they also add a unique flavor profile that breadcrumbs simply can’t match. Whether you’re looking for nut-based coatings for frying or creative ways to enhance flavor with crushed nuts, this method is a game-changer. You can learn more about this topic.
Ingredients
| Ingredient | Amount |
|---|---|
| Crushed nuts (almonds, walnuts, or pecans) | 1 cup |
| Chicken breasts (or your choice of protein) | 4 pieces |
| Eggs | 2, beaten |
| Flour (or almond flour for a gluten-free option) | 1 cup |
| Salt | 1 tsp |
| Paprika | 1 tsp |
| Garlic powder | 1 tsp |
| Olive oil (for frying) | 3 tbsp |
Note: You can easily substitute the flour with almond flour for a gluten-free breading alternative. Look for crushed nuts in the baking or snack aisle of your local grocery store or consider making your own by pulsing nuts in a food processor. Check out our related guide for more tips.
Steps / Instructions
| Step | Instructions |
|---|---|
| 1 | Preheat your oven to 400°F (200°C). This is important for achieving a crispy coating! |
| 2 | In a shallow bowl, combine the flour, salt, paprika, and garlic powder. This spice mix will enhance the flavor of your dish. |
| 3 | In a separate bowl, beat the eggs. The eggs act as a binding agent, helping the crushed nuts adhere to the chicken. |
| 4 | Place the crushed nuts in a third shallow bowl. This will be your coating station. |
| 5 | Take each chicken breast, coat it in the flour mixture, dip it in the beaten eggs, and finally, roll it in the crushed nuts. Press gently to ensure an even coating. |
| 6 | Heat olive oil in a large skillet over medium-high heat. Once hot, add the coated chicken breasts. |
| 7 | Cook for about 4-5 minutes on each side, or until the chicken is golden brown and cooked through. You can also finish them in the oven for an additional 10 minutes if needed. |
| 8 | Remove from heat and let the chicken rest for a few minutes before serving. This helps retain the juices. |
Troubleshooting / Pro Tips
- For even crispier chicken, bake the coated pieces in the oven after frying for 5-10 minutes.
- If the nuts are too coarse, they may not adhere well. Aim for a fine to medium crush.
- To prevent sogginess, ensure the oil is hot enough before adding the chicken.
- Mix different nuts for a diverse blend that adds complexity to your dish.
Serving Suggestions
This nut-crusted chicken pairs wonderfully with a fresh salad topped with savory nut toppings or served alongside roasted vegetables. Looking for something heartier? Try it with a side of creamy mashed potatoes or a grain like quinoa. The best part? Leftovers can be enjoyed cold in salads or as part of a plant-based meal idea.
Nutrition Facts
| Nutrient | Amount |
|---|---|
| Calories | 350 |
| Total Fat | 20g |
| Saturated Fat | 3g |
| Cholesterol | 120mg |
| Sodium | 400mg |
| Total Carbohydrates | 15g |
| Dietary Fiber | 3g |
| Sugars | 1g |
| Protein | 30g |
Note: Values are estimated and will vary based on ingredients and brands used.
FAQ
Can I make this ahead of time / meal prep?
Yes! You can coat the chicken and refrigerate it for a few hours before cooking.
Can I freeze it, and how do I reheat it properly?
You can freeze the coated chicken. To reheat, bake in the oven at 375°F (190°C) until heated through.
Common ingredient substitutions?
You can use any variety of nuts as a coating, or substitute the flour with almond flour for a gluten-free option.
What can I serve with this?
Consider pairing it with roasted vegetables or a fresh salad topped with savory nut toppings for a delightful contrast of flavors.
I’m excited for you to try this recipe and experience the joy of using crushed nuts as a breadcrumb substitute. Your meals will never be the same! If you give this a try, please leave a comment or share your experience. Tag us on social media with your creations, and don’t forget to subscribe for more delicious recipes like this one!
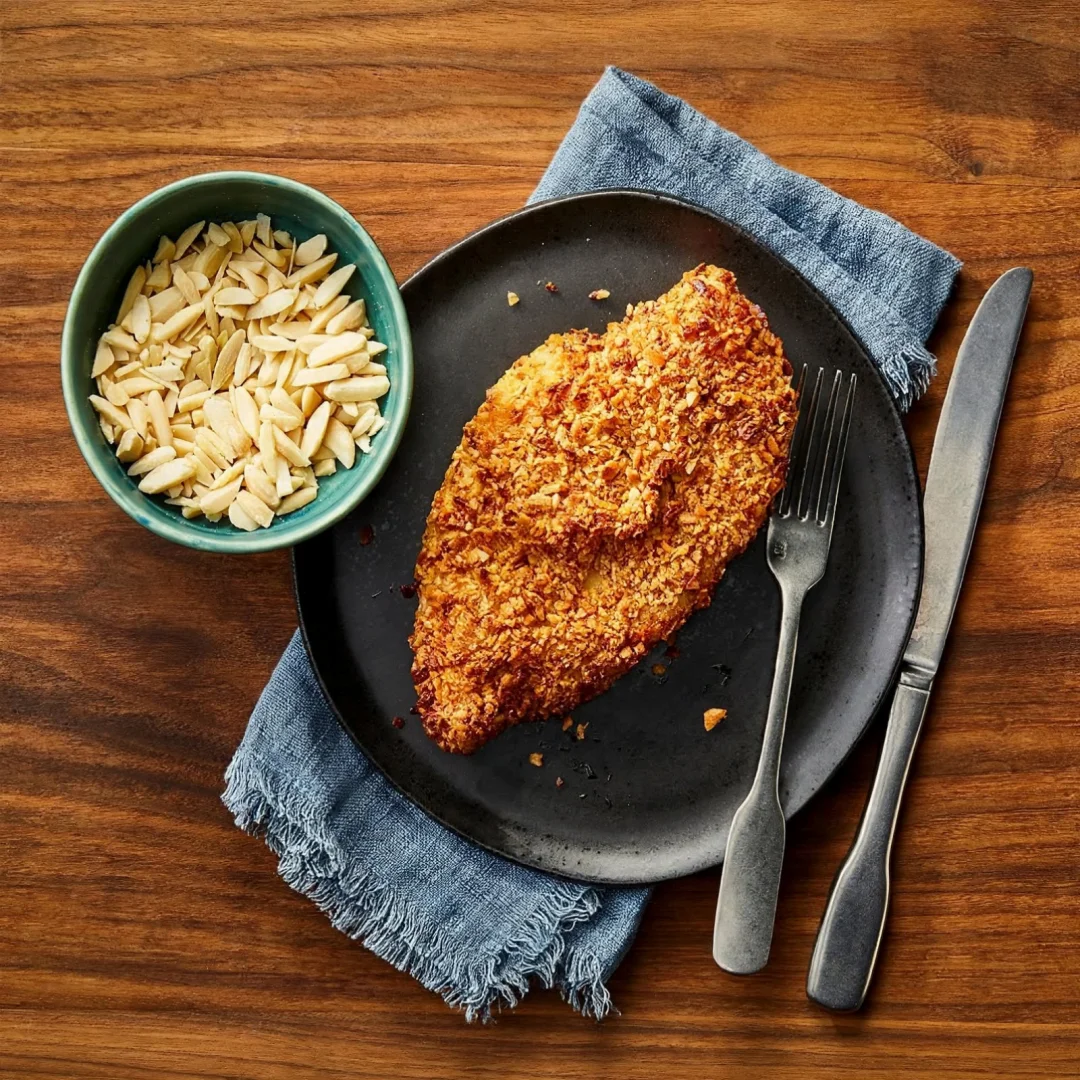
Nut-Crusted Chicken
A healthier alternative to traditional breaded chicken using crushed nuts for a rich flavor and satisfying crunch.
Ingredients
- 1 cup crushed nuts (almonds, walnuts, or pecans)
- 4 pieces chicken breasts (or your choice of protein)
- 2 eggs, beaten
- 1 cup flour (or almond flour for a gluten-free option)
- 1 tsp salt
- 1 tsp paprika
- 1 tsp garlic powder
- 3 tbsp olive oil (for frying)
Directions
Preheat your oven to 400°F (200°C). This is important for achieving a crispy coating!
In a shallow bowl, combine the flour, salt, paprika, and garlic powder. This spice mix will enhance the flavor of your dish.
In a separate bowl, beat the eggs. The eggs act as a binding agent, helping the crushed nuts adhere to the chicken.
Place the crushed nuts in a third shallow bowl. This will be your coating station.
Take each chicken breast, coat it in the flour mixture, dip it in the beaten eggs, and finally, roll it in the crushed nuts. Press gently to ensure an even coating.
Heat olive oil in a large skillet over medium-high heat. Once hot, add the coated chicken breasts.
Cook for about 4-5 minutes on each side, or until the chicken is golden brown and cooked through. You can also finish them in the oven for an additional 10 minutes if needed.
Remove from heat and let the chicken rest for a few minutes before serving. This helps retain the juices.
Nutrition Facts
Recipe Reviews
- ★★★★★
Excellent recipe!
Leave a Reply
Your email address will not be published. Required fields are marked *


Excellent recipe!