
Table of Contents
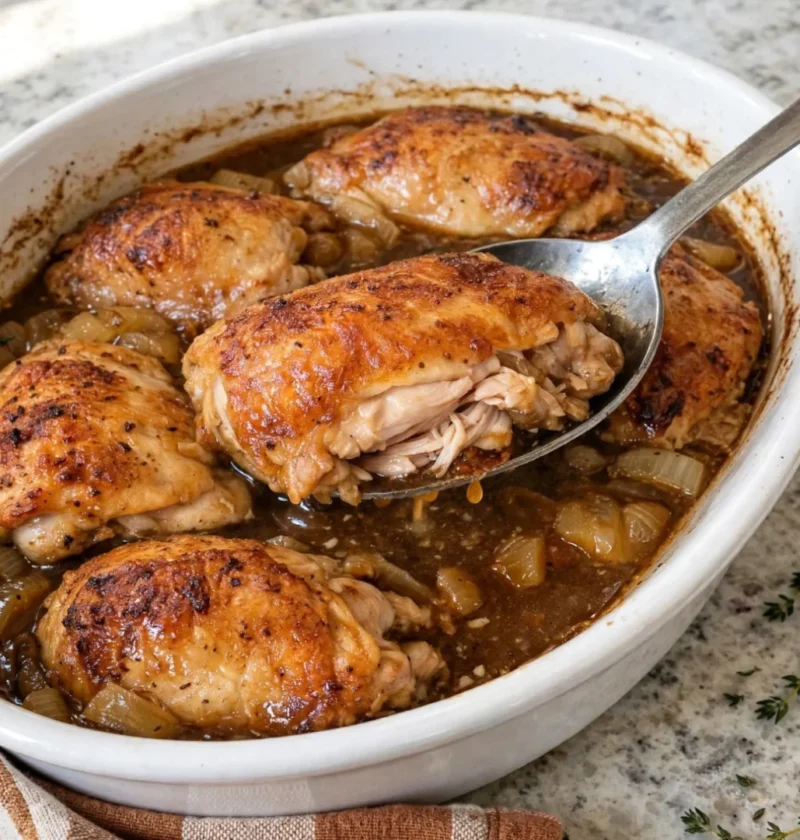
If you’ve ever stared into your fridge at 6 pm wondering what to make for dinner, you know the feeling of desperation. The clock is ticking, and your family is relying on you to deliver something delicious. Enter Aunt Ruth’s baked chicken thighs a simple yet incredibly satisfying dish that will have everyone coming back for seconds. This recipe is not only quick to prepare but also produces juicy and flavorful chicken that practically melts in your mouth. It’s a dish that has been passed down through generations, promising comfort and satisfaction with every bite.
Aunt Ruth was known for her effortless entertaining style, always managing to whip up something amazing with minimal fuss. Her baked chicken thighs became a staple at family gatherings, inspiring laughter, storytelling, and, of course, a second helping. Today, I’m excited to share her cherished recipe with you, one that has been a source of joy and togetherness in my family. The simplicity of this dish, paired with its mouthwatering flavors, makes it a perfect choice for busy weeknights or special occasions.
Why This Recipe Works
Aunt Ruth’s baked chicken thighs are sensational thanks to their simplicity. This easy baked chicken thighs recipe focuses on just three ingredients, allowing the natural flavors of the chicken to shine through while keeping prep time to a minimum. The combination of seasoning creates a savory crust, sealing in juices and ensuring each bite is tender and succulent. This isn’t just another chicken recipe; it’s a comforting meal that can be enjoyed any night of the week. Check out our related guide for more tips.
Ingredients
| Ingredient | Amount |
|---|---|
| Bone-in, skin-on chicken thighs | 4 pieces (about 1.5 to 2 pounds) |
| Olive oil | 2 tablespoons |
| Your favorite seasoning blend (e.g., garlic powder, paprika, salt, and pepper) | 2 teaspoons |
For the best flavor, opt for high-quality chicken thighs. Look for organic or free-range options if possible, which can enhance the taste and texture. You can also customize the seasoning based on your preferences; for instance, replace the garlic powder with dried herbs or use a store-bought rotisserie chicken seasoning for a quick alternative.
Steps / Instructions
| Step | Instructions |
|---|---|
| 1 | Preheat your oven to 425°F (220°C). This high temperature will help to crisp up the chicken skin. |
| 2 | Pat the chicken thighs dry with paper towels. This will help achieve a crispy skin during baking. |
| 3 | In a large bowl, combine the olive oil and the seasoning blend. Mix well. |
| 4 | Add the chicken thighs to the bowl and toss to coat them evenly with the oil and seasoning mixture. |
| 5 | Arrange the chicken thighs skin-side up on a baking sheet lined with parchment paper or foil for easy cleanup. |
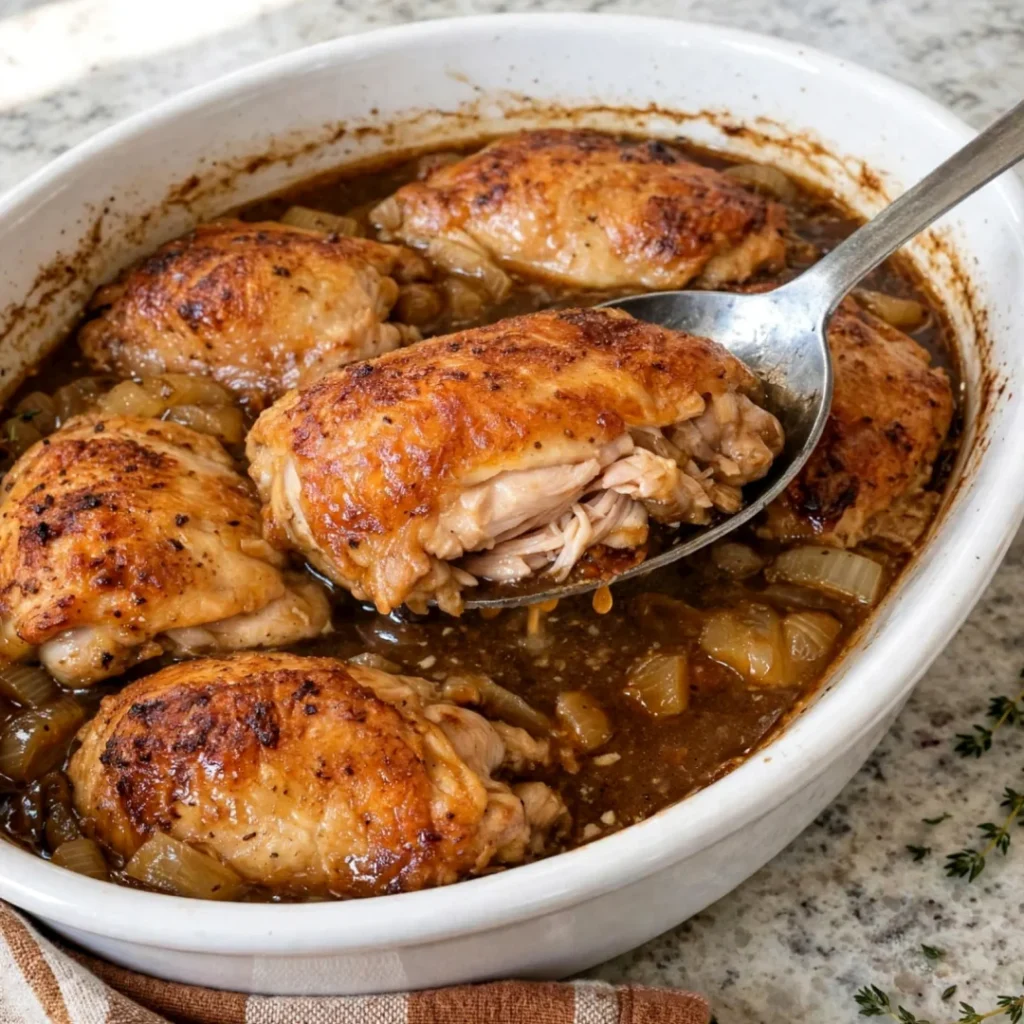
| 6 | Bake in the preheated oven for 35 to 45 minutes, or until the internal temperature reaches 165°F (75°C) and the skin is golden brown. |
| 7 | Remove from the oven and let the chicken rest for about 5 minutes before serving. This allows the juices to redistribute. |
Troubleshooting / Pro Tips
- For extra crispy skin, broil the chicken for the last 2-3 minutes of cooking, watching closely to prevent burning.
- Make sure to space the chicken thighs evenly on the baking sheet to allow for proper air circulation, ensuring even cooking.
- If your chicken thighs are larger, you may need to increase the cooking time slightly. Use a meat thermometer to check doneness.
- Letting the chicken rest after baking is crucial for juiciness; don’t skip this step!
FAQ
Can I make this ahead of time or meal prep?
You can absolutely prepare the chicken thighs in advance! Marinate them in the seasoning mixture and refrigerate for up to 24 hours before baking. Just remember to bring them to room temperature before placing them in the oven.
Can I freeze it, and how do I reheat it properly?
Yes, you can freeze the baked chicken thighs. Place them in an airtight container or freezer bag after they have cooled. To reheat, thaw in the refrigerator overnight and then bake at 350°F (175°C) until heated through.
What can I serve with this?
Aunt Ruth’s baked chicken thighs pair wonderfully with roasted vegetables, mashed potatoes, or a fresh salad. For a complete meal, consider serving them alongside Slow Cooker Potato and Onion Bake or Crockpot Cheesy Chicken, Broccoli, and Rice Casserole.
What if my chicken turns out dry?
Ensure you’re cooking to the right internal temperature and not exceeding it. Overcooking can lead to dryness. Using bone-in, skin-on thighs helps retain moisture better.
Conclusion
So there you have it Aunt Ruth’s baked chicken thighs that are bound to become a favorite in your home. Not only is this recipe easy to follow, but it also delivers mouthwatering results that will impress your family and friends. I invite you to try it out and see how quickly it becomes a staple in your weekly dinner rotation. Don’t forget to leave a comment with your thoughts or a rating if you enjoyed this recipe. I would love to hear how it turned out for you!
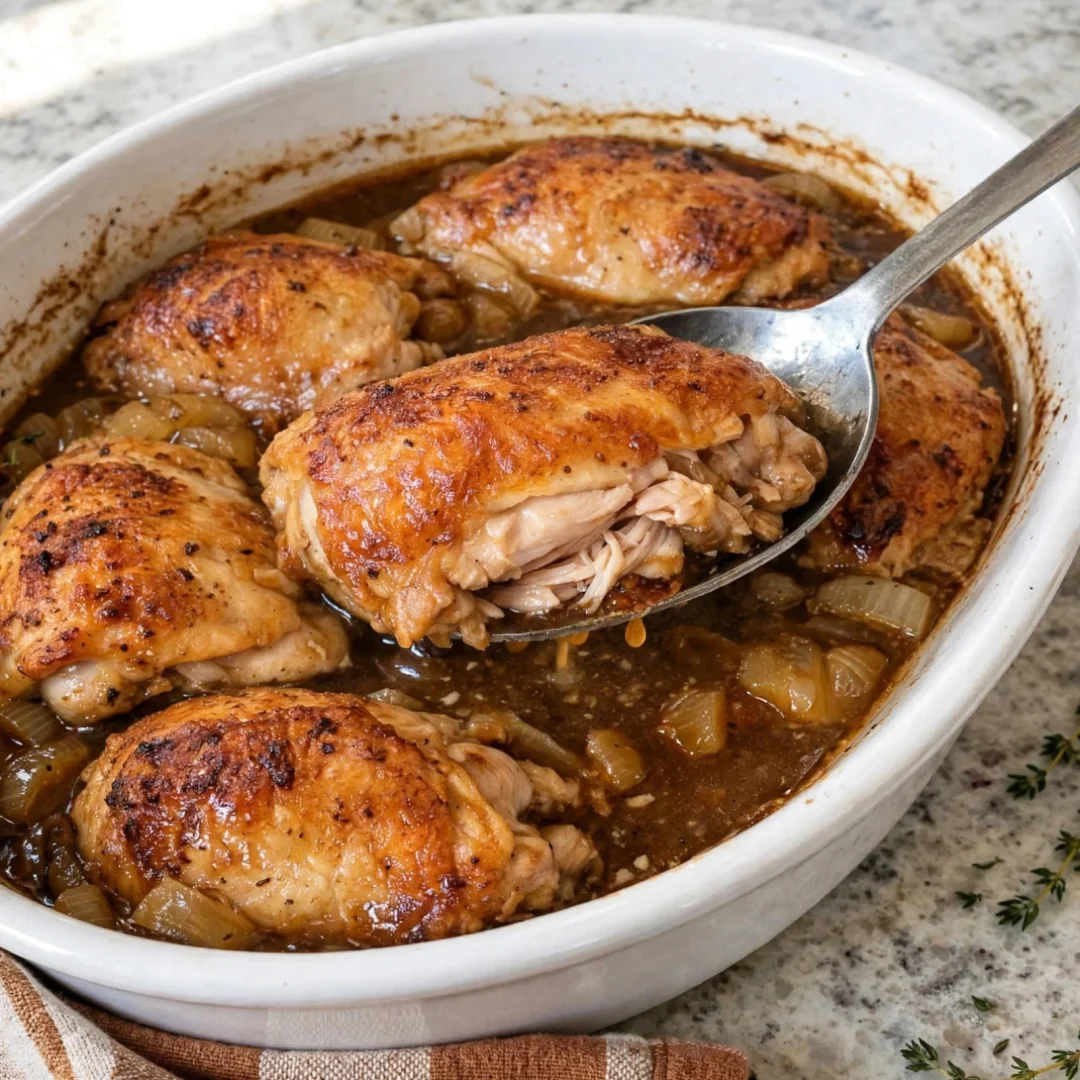
Aunt Ruth’s 3-Ingredient Baked Chicken Thighs
A simple yet incredibly satisfying dish that will have everyone coming back for seconds. This recipe is not only quick to prepare but also produces juicy and flavorful chicken that practically melts in your mouth.
Ingredients
- 4 pieces (about 1.5 to 2 pounds) bone-in, skin-on chicken thighs
- 2 tablespoons olive oil
- 2 teaspoons your favorite seasoning blend (e.g., garlic powder, paprika, salt, and pepper)
Directions
Preheat your oven to 425°F (220°C). This high temperature will help to crisp up the chicken skin.
Pat the chicken thighs dry with paper towels. This will help achieve a crispy skin during baking.
In a large bowl, combine the olive oil and the seasoning blend. Mix well.
Add the chicken thighs to the bowl and toss to coat them evenly with the oil and seasoning mixture.
Arrange the chicken thighs skin-side up on a baking sheet lined with parchment paper or foil for easy cleanup.
Bake in the preheated oven for 35 to 45 minutes, or until the internal temperature reaches 165°F (75°C) and the skin is golden brown.
Remove from the oven and let the chicken rest for about 5 minutes before serving. This allows the juices to redistribute.
Recipe Reviews
- ★★★★★
Excellent recipe!
Leave a Reply
Your email address will not be published. Required fields are marked *





Excellent recipe!