
Table of Contents
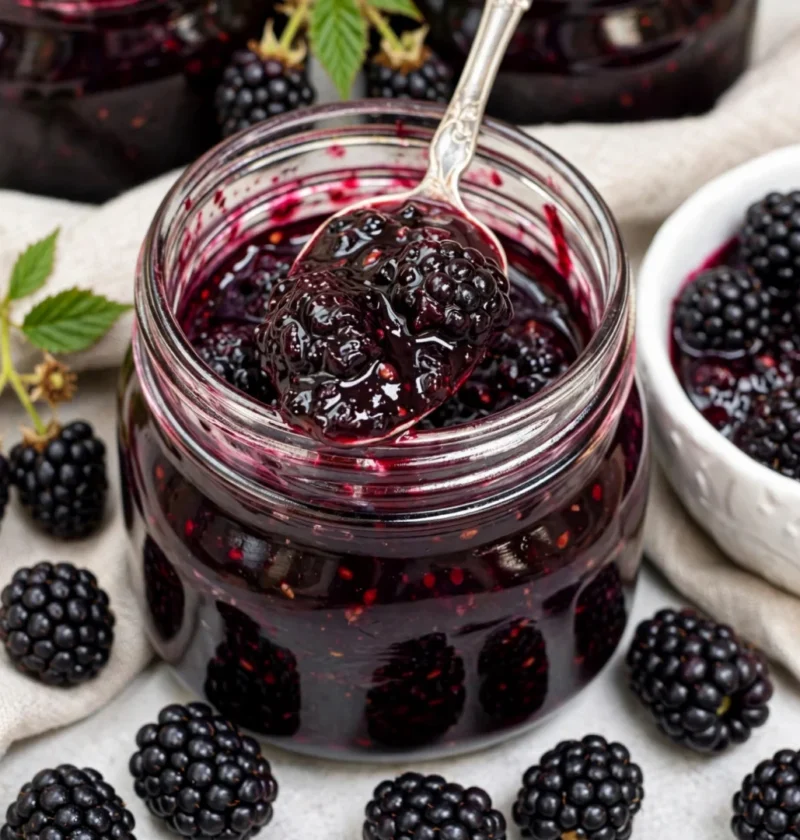
There’s nothing quite like the taste of homemade preserves, and fresh blackberry jam is a delightful way to capture the essence of summer in a jar. As the blackberries ripen, they transform into a sweet and tangy spread that’s perfect for slathering on toast, dolloping on pancakes, or even using as a topping for desserts. I remember the first time I made this jam with my grandmother, picking ripe berries and laughing as we filled our baskets.
Those moments ignited my passion for fruit preserving techniques, and now I want to share that joy with you! Making fresh blackberry jam is not just about preserving fruit; it’s about creating memories, flavor, and the satisfaction of enjoying something homemade. It’s a simple yet rewarding culinary adventure that can turn an ordinary day into something special.
Why You’ll Love This Recipe
- Quick prep time: Make a delicious batch in under an hour, allowing you to enjoy homemade jam without spending the entire day in the kitchen. You can whip up this recipe in less time than it takes to binge a single episode of your favorite show!
- Minimal ingredients: Just fresh blackberries, sugar, and lemon juice! This simplicity allows the natural flavors of the blackberries to shine through, giving you a burst of summer in every spoonful.
- Versatile uses: Perfect as a breakfast spread or dessert topping. You can also use it as a filling for pastries or swirl it into yogurt for a delightful snack. It’s fantastic on oatmeal or even as a topping for cheesecake!
- Homemade gifts: Share the love with family and friends by giving them jars of your fresh blackberry jam, a personal touch that store-bought options simply can’t match. Homemade gifts always carry a special sentiment that people appreciate.
- Easy process: Ideal for both beginners and seasoned canners; the step-by-step instructions make it straightforward to achieve great results every time you make fresh blackberry jam. You’ll feel like a pro in no time!
Ingredients
To create this scrumptious fresh blackberry jam, you will need the following ingredients:
- For the jam:
- 4 cups fresh blackberries (about 2 lbs), washed and sorted, making sure to pick out any overripe or mushy berries for the best results. Look for berries that are plump and shiny, as they will yield a more flavorful jam.
- 2 cups granulated sugar, which helps to balance the tartness of the blackberries and aids in preservation. If you’re seeking a more natural sweetness, feel free to adjust to your taste.
- 2 tablespoons lemon juice (freshly squeezed for best flavor), which not only adds a zesty kick but also helps to gel the jam by providing acidity. Fresh lemon juice is ideal, but bottled juice can work in a pinch.
- For canning:
- Clean glass jars with lids (1 cup size recommended) to hold your delicious jam, ensuring they are specifically designed for canning. You can use mason jars or any canning jars that have been treated for high heat.
- Water for boiling jars, which will help to sterilize them properly and ensure your jam stays safe for consumption. This step is essential to avoid spoilage during storage.
Note: Store-bought blackberries can work in a pinch, but using fresh, organic blackberries will yield the best flavor and texture. If you don’t have fresh ones, consider frozen blackberries. Just ensure they are unsweetened and thawed before use to avoid any unwanted sugars in your jam. Check out our related guide for more tips on selecting the best fruit for your preserves and improving your jam-making skills. Remember, the quality of your ingredients directly impacts the final taste of your fresh blackberry jam.
Steps / Instructions
Prepare the jars: Begin by sterilizing your canning jars and lids. Place them in a large pot of boiling water for 10 minutes to ensure they are clean and ready for use. This step is crucial for safe canning, as it prevents bacteria from spoiling your jam. Keep your jars warm until you fill them to avoid breakage.
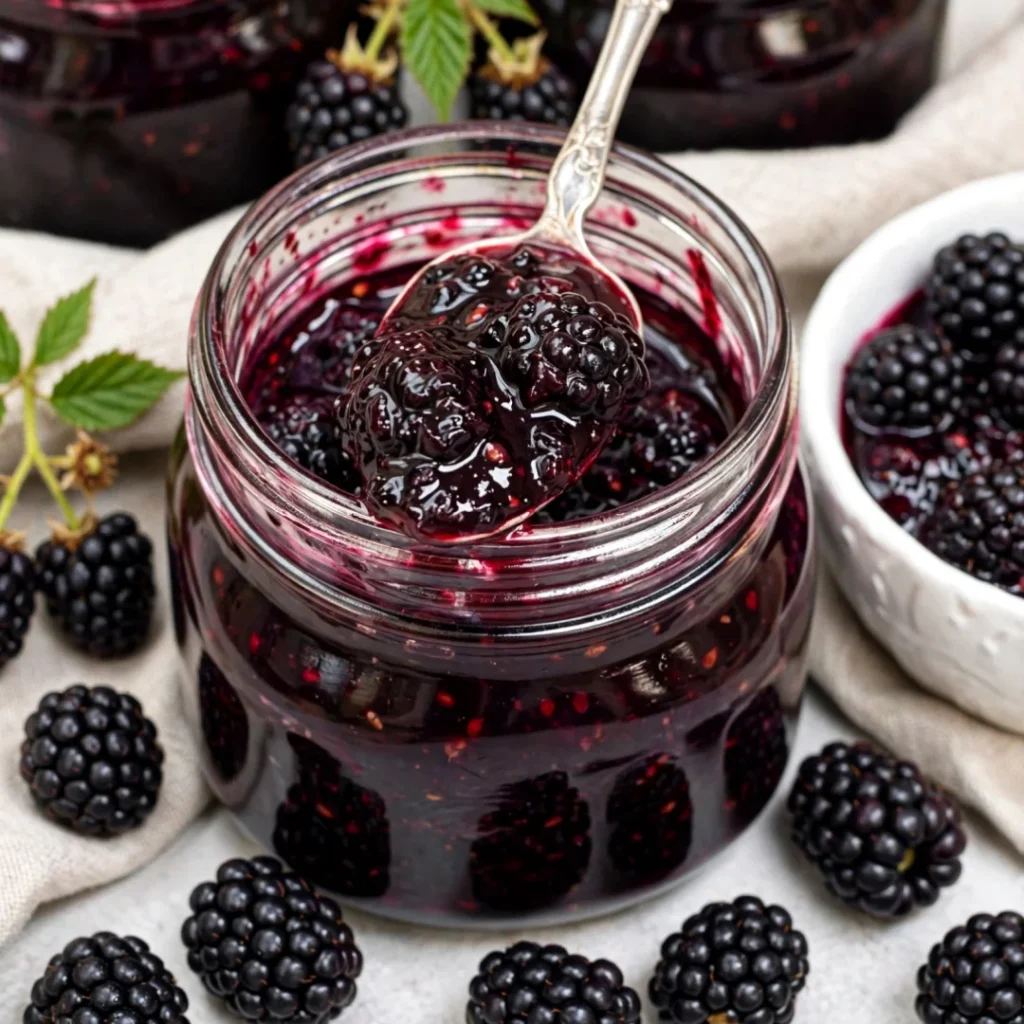
Cook the blackberries: In a large saucepan, combine the fresh blackberries and lemon juice. Crush the berries gently with a potato masher or fork to release their juices. Cook over medium heat, stirring occasionally, for about 5 minutes, allowing the blackberries to soften and break down further. You want to see the berries bursting and releasing their delightful juices!
Add sugar: Gradually stir in the granulated sugar, mixing until it dissolves completely. Increase the heat and bring the mixture to a rolling boil. Stir continuously to prevent burning, ensuring all the sugar is integrated into the berry mixture. The sugar will help thicken the jam and create that perfect spreadable consistency.
Boil the jam: Once boiling, continue to cook for 10-15 minutes. You’ll know the jam is ready when it thickens slightly and reaches a temperature of 220°F (use a candy thermometer for accuracy). To test readiness, drop a spoonful on a cold plate; if it holds its shape and doesn’t run, it’s ready to be jarred. This is also the moment where you’ll be mesmerized by the vibrant color of your jam!
Fill the jars: Remove the sterilized jars from the boiling water and place them on a clean towel. Carefully ladle the hot blackberry jam into each jar, leaving about 1/4 inch of headspace. This space is crucial for sealing. Wipe the rims with a clean cloth to ensure a good seal, removing any spills that could prevent the lids from sealing properly. Be cautious; the jam will be hot!
Seal the jars: Place the lids on the jars and screw on the metal bands until they are fingertip-tight. Do not overtighten, as this can interfere with the sealing process. Proper sealing is key to ensuring your jam lasts as long as possible.
Process the jars: Return the jars to the pot of boiling water, ensuring they are submerged. Process them for 10 minutes. This step not only ensures that the jam is sealed properly but also kills any remaining bacteria for long-term storage. Ensure the water level covers the jars by at least an inch.
Cool down: After processing, remove the jars from the water and let them cool on a clean towel. You should hear a pop sound as the lids seal, which indicates a successful seal. Let the jars sit undisturbed for 24 hours to complete the cooling and sealing process. This step is crucial for developing that perfect jam texture.
Tips & Tricks
- Quality ingredients: The best ingredients for jam are fresh fruits and organic sugar. This enhances the flavor of your fresh blackberry jam and contributes to its overall quality. Look for plump, firm blackberries that are deep purple or black in color. A well-selected fruit will make your jam taste even better!
- Adjust sweetness: If you prefer a less sweet jam, consider reducing the sugar by up to 1/2 cup. You can also experiment with different sweeteners like honey or agave syrup, though adjustments in cooking time may be necessary. Just remember that reducing sugar may affect the setting of your jam.
- Labeling: Don’t forget to label your jars with the date and flavor. Homemade gifts from the kitchen are always appreciated! A cute label can also elevate the presentation, making your gifts even more special. Adding a personal note can make the gift even more heartfelt.
- Storage: Store the jars in a cool, dark place. Unopened, your jam can last for up to a year. Once opened, keep it in the refrigerator and consume within a few weeks for the best flavor. Ensure that your jars are completely sealed; improper sealing can lead to spoilage.
- Test for seals: To check if the jars are sealed properly, press the center of the lid. If it doesn’t pop back, it’s sealed! If a jar didn’t seal, you can refrigerate it and use the jam within a couple of weeks, or reprocess it if desired. A successful seal will ensure your jam remains fresh and delicious.
Conclusion
Making fresh blackberry jam is a wonderfully rewarding experience that fills your kitchen with the sweet aroma of summer. Whether you’re enjoying it on a slice of bread, using it in dessert topping ideas, or gifting it to friends, this simple jam-making process is bound to impress and create lasting memories. So, grab your blackberries and start preserving the flavors of the season! You’ll find that every jar encapsulates the joy of summer, ready to brighten up your breakfasts and snacks year-round. Plus, nothing beats the satisfaction of spreading your homemade jam on a warm biscuit!
Ready to give this fresh blackberry jam recipe a try? I’d love to hear about your experience! Share your thoughts in the comments below, save this pin for later, or take a photo of your delicious creation and tag me on social media! For more easy homemade jam recipes, check out our Easy California Roll Cucumber Salad or Cucumber Strawberry Salad for refreshing ideas! Your culinary adventures await, and I can’t wait to see your results!
Fresh Blackberry Jam
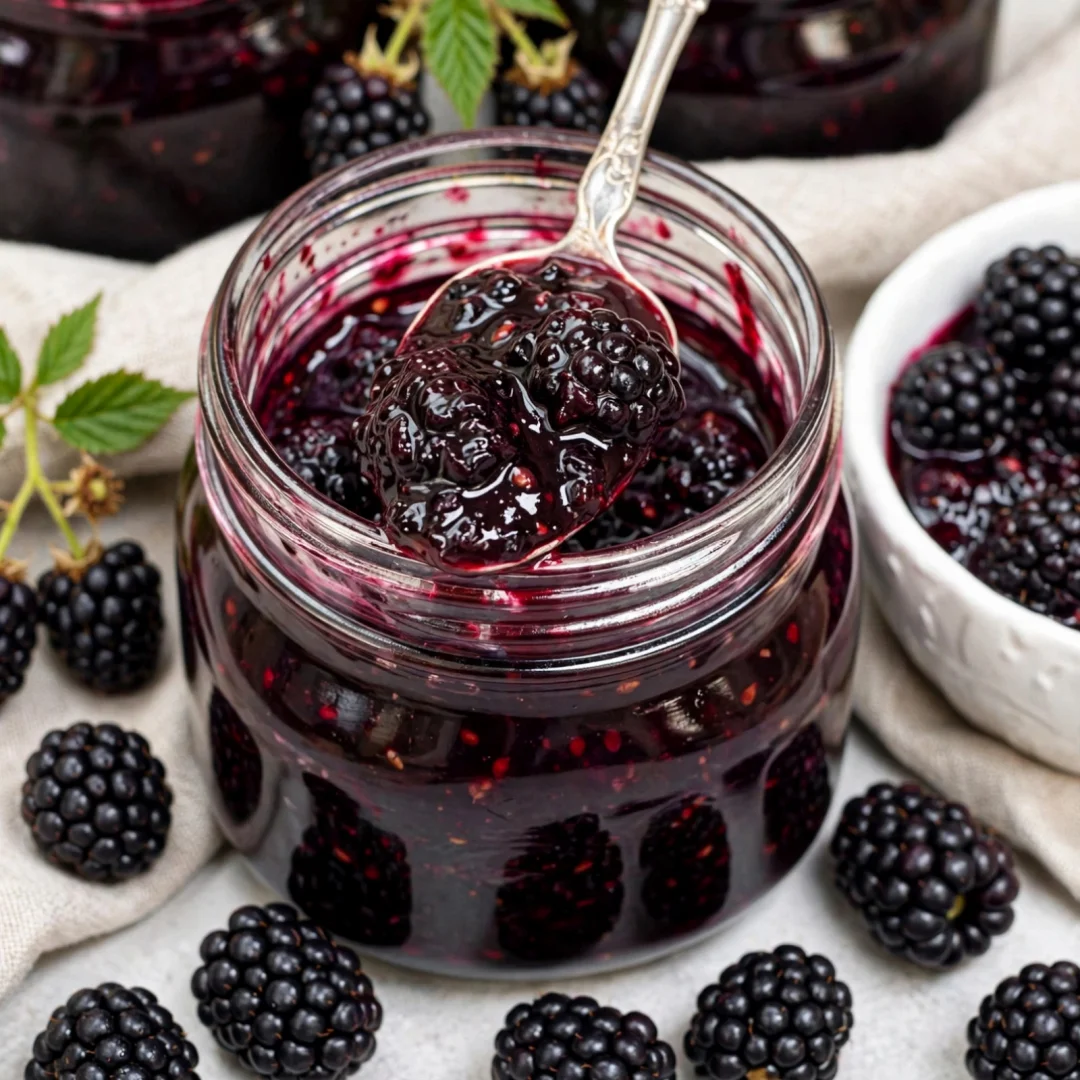
There's nothing quite like the taste of homemade preserves, and fresh blackberry jam is a delightful way to capture the essence of summer in a jar.
Ingredients
- 4 cups fresh blackberries (about 2 lbs), washed and sorted
- 2 cups granulated sugar
- 2 tablespoons lemon juice (freshly squeezed)
- Clean glass jars with lids (1 cup size recommended)
- Water for boiling jars
Directions
Begin by sterilizing your canning jars and lids. Place them in a large pot of boiling water for 10 minutes.
In a large saucepan, combine the fresh blackberries and lemon juice. Crush the berries gently with a potato masher or fork to release their juices. Cook over medium heat, stirring occasionally, for about 5 minutes.
Gradually stir in the granulated sugar, mixing until it dissolves completely. Increase the heat and bring the mixture to a rolling boil. Stir continuously to prevent burning.
Once boiling, continue to cook for 10-15 minutes until the jam thickens slightly and reaches a temperature of 220°F.
Remove the sterilized jars from the boiling water and carefully ladle the hot blackberry jam into each jar, leaving about 1/4 inch of headspace.
Place the lids on the jars and screw on the metal bands until they are fingertip-tight.
Return the jars to the pot of boiling water, ensuring they are submerged. Process them for 10 minutes.
After processing, remove the jars from the water and let them cool on a clean towel.
Nutrition Facts
Recipe Reviews
- ★★★★★
Excellent recipe!
Leave a Reply
Your email address will not be published. Required fields are marked *

Excellent recipe!