
Table of Contents
Fairy Cake
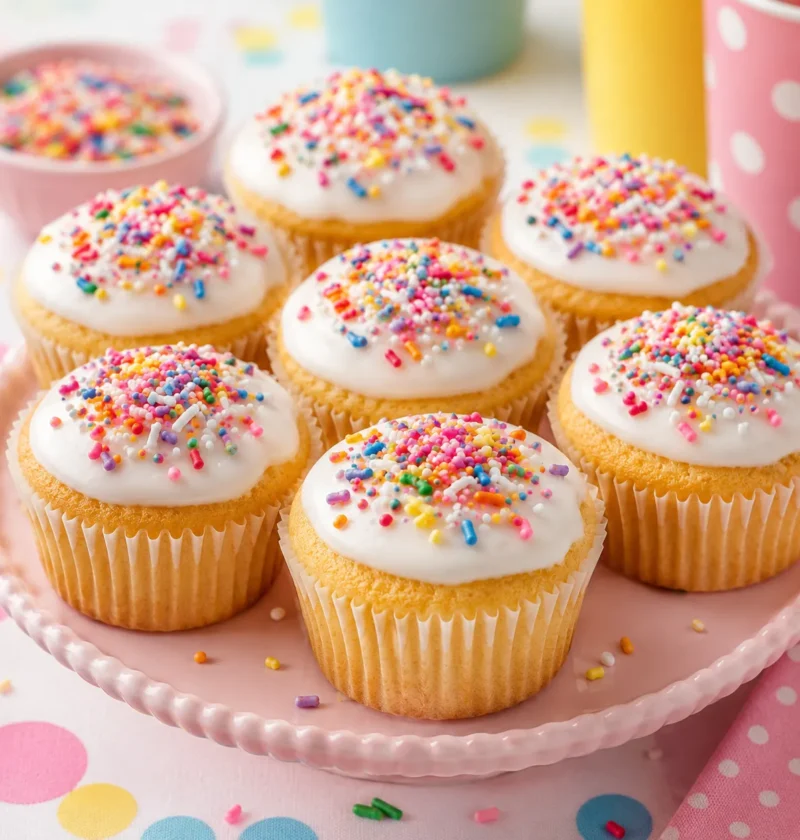
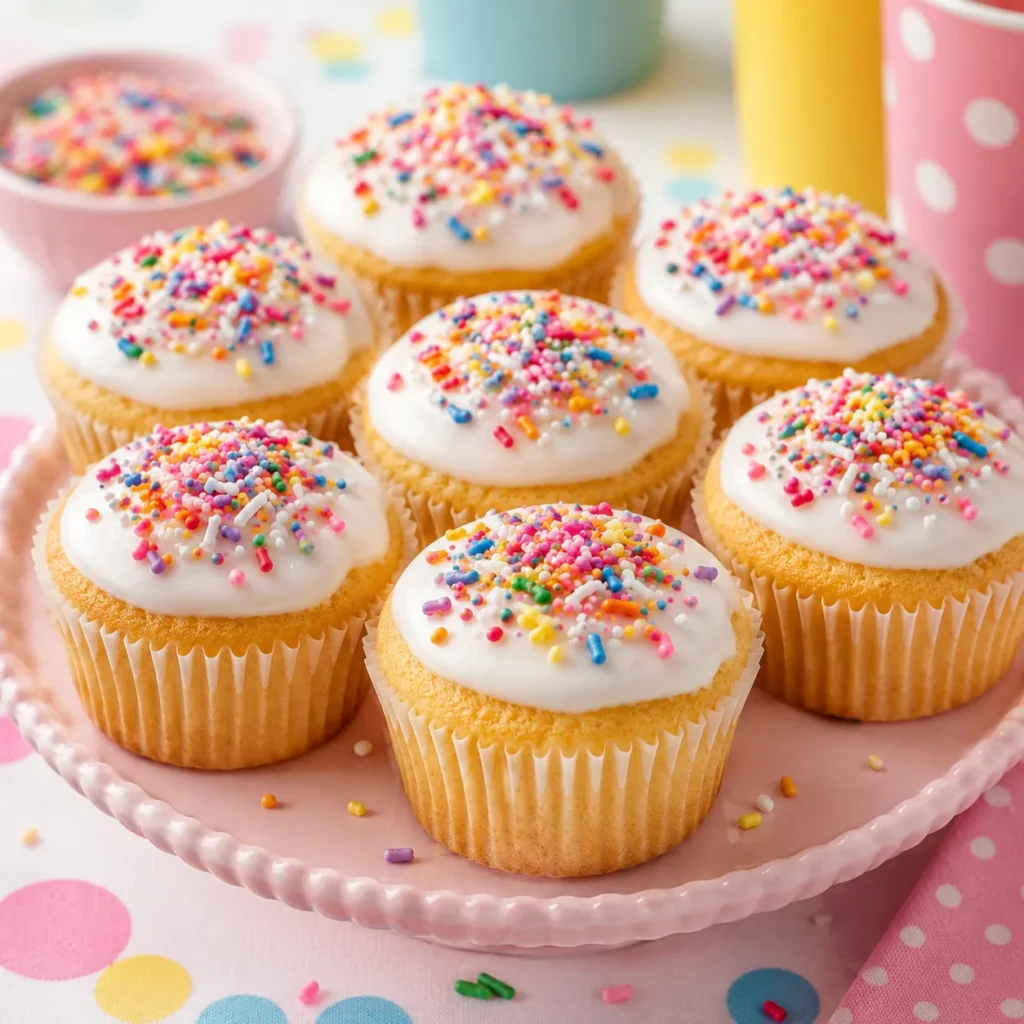
There is something timeless about a tray of little Fairy Cakes cooling on the counter, their golden tops just waiting for icing and sprinkles. Fairy Cake is the kind of easy, homemade sponge that instantly feels nostalgic, with a soft crumb, gentle vanilla flavor, and a pretty, whimsical look that makes both kids and adults light up. Unlike towering bakery cupcakes, Fairy Cakes are smaller and lighter, which means you get that tender, airy texture without feeling weighed down after a couple of bites.
You can keep them classic with simple vanilla icing and sprinkles, or lean into a fairy and whimsical theme with pastel colors, edible glitter, and tiny decorations. They bake quickly, use basic pantry ingredients, and are forgiving enough for beginner bakers or baking with kids. Whether you serve them at a birthday party, afternoon tea, or a fairy themed celebration, these Fairy Cakes are an easy way to bring a little magic to your table. Let’s walk through the ingredients and step by step method so you can bake your own batch.
WHY YOU’LL LOVE THIS RECIPE
- Light, fluffy sponge with a soft, tender crumb that stays moist.
- Simple ingredients and straightforward steps that are great for beginner bakers.
- Bakes in about 15 to 20 minutes, so you can have a whimsical treat on the table fast.
- Easy to decorate for any theme, from pastel fairy parties to seasonal holidays.
- Kid friendly size that is ideal for lunch boxes, bake sales, and after school treats.
INGREDIENTS
Fairy Cakes
| Ingredient Group | Ingredient | Amount |
|---|---|---|
| Batter | Unsalted butter, softened | 130 g (about 9 tbsp) |
| Batter | Caster sugar (or fine granulated sugar) | 130 g (about 2/3 cup) |
| Batter | Large eggs, room temperature | 2 |
| Batter | Vanilla extract | 1/2 tsp |
| Batter | Self rising flour | 130 g (about 1 cup) |
| Batter | Milk | 2–3 tbsp, as needed |
| Topping | Icing sugar (powdered sugar) | 80 g (about 2/3 cup) |
| Topping | Milk (for icing) | 1–2 tbsp, as needed |
| Topping | Sprinkles or small sweets | As desired |
Makes about 10–12 small Fairy Cakes, depending on case size. Base batter proportions are adapted from classic UK fairy cake ratios for light sponge texture.
HOW TO MAKE IT (Step-by-Step)
Prep the tin and preheat the oven (5 minutes)
Preheat your oven to 170°C fan / 190°C / 375°F and line a cupcake or fairy cake tin with paper cases. Using smaller cases will give you the traditional Fairy Cake look rather than large bakery style cupcakes.
Cream butter and sugar (3–5 minutes)
In a mixing bowl, beat the softened butter and caster sugar together until the mixture is pale and fluffy. A hand mixer or stand mixer makes this effortless, and proper creaming helps the cakes rise with a light, tender crumb.
Add eggs and vanilla (2–3 minutes)
Beat in the eggs one at a time, mixing well after each addition. Add the vanilla extract. If the mixture starts to look a little curdled, sprinkle in a tablespoon of the measured flour and beat briefly; this helps keep the batter smooth.
Fold in the flour (2–3 minutes)
Sift the self rising flour over the bowl. Using a spatula or large spoon, gently fold the flour into the batter until just combined. Try not to overmix, which can make the Fairy Cakes dense. The batter should look smooth and drop easily from the spoon.
Adjust with milk and fill cases (5 minutes)
If the batter feels very thick, stir in 2–3 tablespoons of milk until it reaches a soft dropping consistency. Divide the mixture between the paper cases, filling each one about halfway. This allows room for the cakes to rise without overflowing.
Bake until golden and risen (15–20 minutes)
Bake in the preheated oven for 15 to 20 minutes, or until the Fairy Cakes are risen and lightly golden on top. The tops should spring back when gently pressed and a toothpick inserted in the center should come out clean. Transfer the cakes to a wire rack to cool completely.
Make the icing (3–5 minutes)
In a small bowl, whisk the icing sugar with 1 tablespoon of milk. Add more milk, a few drops at a time, until you have a thick, spoonable icing that will sit on top of each cake without running down the sides. You can tint the icing with a drop or two of food coloring for a fairy theme.
Decorate the Fairy Cakes (5–10 minutes)
Spoon a small amount of icing onto the cooled cakes, letting it spread just to the edges. While the icing is still soft, add sprinkles or small sweets on top. Traditional Fairy Cakes are simple, so the icing does not need to be piped neatly; part of their charm comes from the casual, homey look.
MACROS & NUTRITION TABLE
Approximate nutrition per Fairy Cake (1 of 12), based on standard butter, sugar, and flour:
| Nutrition | Amount per cake |
|---|---|
| Calories | 165 |
| Protein | 2 g |
| Carbs | 23 g |
| Net Carbs | 23 g |
| Fat | 7 g |
| Fiber | 0 g |
These values are estimates based on common nutrition data for basic sponge cakes with icing. Macros will change if you make the cakes smaller or larger, use alternative sweeteners, or switch to different toppings, so input your exact ingredients into a nutrition calculator if you need precise tracking.
PRO TIPS & VARIATIONS
Bring the butter and eggs to room temperature for an evenly mixed, fluffy batter that bakes up with a light crumb.
For a citrus variation, add finely grated lemon or orange zest to the batter along with the vanilla.
To make the Fairy Cakes extra whimsical, divide the icing into a few bowls and tint each one a different pastel shade before decorating.
For a slightly lighter version, you can swap some of the butter for yogurt, though the texture will be a little less rich.
To make these gluten free, use a gluten free self rising flour blend and check that your sprinkles are gluten free; you may need an extra splash of milk if the batter seems thick.
SERVING SUGGESTIONS
- Serve Fairy Cakes on a tiered stand for afternoon tea along with small sandwiches and fresh fruit.
- Pack them into lunch boxes or picnic baskets as a sweet, nostalgic treat that travels well.
- Use them as a base for a fairy themed dessert table, decorating each batch with different pastel icings and sprinkles.
STORAGE & REHEATING
Fridge: Store cooled and iced Fairy Cakes in an airtight container at room temperature for 1 to 2 days, or in the fridge for up to 4 days if your kitchen is very warm.
Freezer: Freeze undecorated Fairy Cakes for up to 2 months, well wrapped. Thaw at room temperature, then add icing and sprinkles just before serving.
Reheating: Fairy Cakes are best at room temperature. If they feel a little firm from the fridge, let them sit out for 20–30 minutes to soften before serving.
FAQ SECTION (People Also Ask)
Q: What is the difference between Fairy Cakes and cupcakes?
A: Fairy Cakes are usually smaller with a lighter sponge and a simple icing spooned on top, while cupcakes tend to be larger with richer batter and piped buttercream. The Fairy Cake texture is light and airy, ideal for quick bakes and kids’ parties.
Q: Can I make Fairy Cakes without self rising flour?
A: Yes, you can use the same weight of all purpose flour and add baking powder to it. For every 130 g of flour, use about 1 1/2 teaspoons of baking powder so the cakes still rise well.
Q: How do I stop Fairy Cakes from sinking in the middle?
A: Avoid opening the oven door in the first 10 minutes of baking and make sure your oven is properly preheated. Overmixing the batter or adding too much milk can also cause sinking, so fold gently and stop as soon as the flour is combined.
Q: Can I color the Fairy Cake batter instead of the icing?
A: Yes, you can divide the batter and tint it with food coloring for a fun, marbled effect inside. Just fold the colors through gently and bake as usual, then top with plain or matching icing.
Q: Are Fairy Cakes good to bake with kids?
A: Fairy Cakes are ideal for baking with kids because the batter is simple, the baking time is short, and decorating with icing and sprinkles is fun and forgiving. It is a great way to introduce children to basic baking skills.
CALL TO ACTION
If you bake this batch of Fairy Cakes, come back and share how they turned out and what toppings you used. Pin the recipe to your whimsical baking or party board on Pinterest so you can find it again for birthdays, school events, or quiet weekend baking. If you enjoy simple, nostalgic recipes with a playful twist, keep an eye out for the next whimsical bake in this series that adds a fairy inspired look to another classic treat.
Fairy Cake
Ingredients
Fairy Cakes
- 130 g (about 9 tbsp) unsalted butter, softened
- 130 g (about 2/3 cup) caster sugar (or fine granulated sugar)
- 2 large eggs, room temperature
- 1/2 teaspoon vanilla extract
- 130 g (about 1 cup) self-rising flour
- 2–3 tablespoons milk, as needed
Topping
- 80 g (about 2/3 cup) icing sugar (powdered sugar)
- 1–2 tablespoons milk (for icing)
- Sprinkles or small sweets, as desired
Instructions
- Prep the tin and preheat the oven (5 minutes): Preheat your oven to 170°C fan / 190°C / 375°F and line a cupcake or fairy cake tin with paper cases. Using smaller cases will give you the traditional Fairy Cake look rather than large bakery-style cupcakes.
- Cream butter and sugar (3–5 minutes): In a mixing bowl, beat the softened butter and caster sugar together until the mixture is pale and fluffy. Proper creaming helps the cakes rise with a light, tender crumb.
- Add eggs and vanilla (2–3 minutes): Beat in the eggs one at a time, mixing well after each addition. Add the vanilla extract. If the mixture starts to look a little curdled, sprinkle in a tablespoon of the measured flour and beat briefly.
- Fold in the flour (2–3 minutes): Sift the self-rising flour over the bowl. Using a spatula or large spoon, gently fold the flour into the batter until just combined. Do not overmix; the batter should look smooth and drop easily from the spoon.
- Adjust with milk and fill cases (5 minutes): If the batter feels very thick, stir in 2–3 tablespoons of milk until it reaches a soft dropping consistency. Divide the mixture between the paper cases, filling each one about halfway.
- Bake until golden and risen (15–20 minutes): Bake for 15 to 20 minutes, or until the Fairy Cakes are risen and lightly golden on top. The tops should spring back when gently pressed and a toothpick inserted in the center should come out clean. Transfer the cakes to a wire rack to cool completely.
- Make the icing (3–5 minutes): In a small bowl, whisk the icing sugar with 1 tablespoon of milk. Add more milk, a few drops at a time, until you have a thick, spoonable icing that will sit on top of each cake without running down the sides. Tint with food coloring if desired.
- Decorate the Fairy Cakes (5–10 minutes): Spoon a small amount of icing onto the cooled cakes, letting it spread just to the edges. While the icing is still soft, add sprinkles or small sweets on top.
Nutrition
Approximate nutrition per Fairy Cake (1 of 12):
| Calories | 165 |
| Protein | 2 g |
| Carbs | 23 g |
| Net Carbs | 23 g |
| Fat | 7 g |
| Fiber | 0 g |
These values are estimates based on common nutrition data for basic sponge cakes with icing. Macros will change with cake size, ingredient brands, and toppings.